• WELCOME
  • Blog "The Journey"
  • IN THE WOODS
  • LET'S METAL
  • A SIGN OF THE TIMES
  • CARVINGS AND DIMENSIONAL PIECES
  • DIMENSIONAL SIGN AND SIGN COMPONENTS
  • CONTACT
  • STILL BUILDING
Sawdustnsparks.com       603-356-9080

a return to the Elfs Lodge

6/4/2014

1 Comment

 
Picture
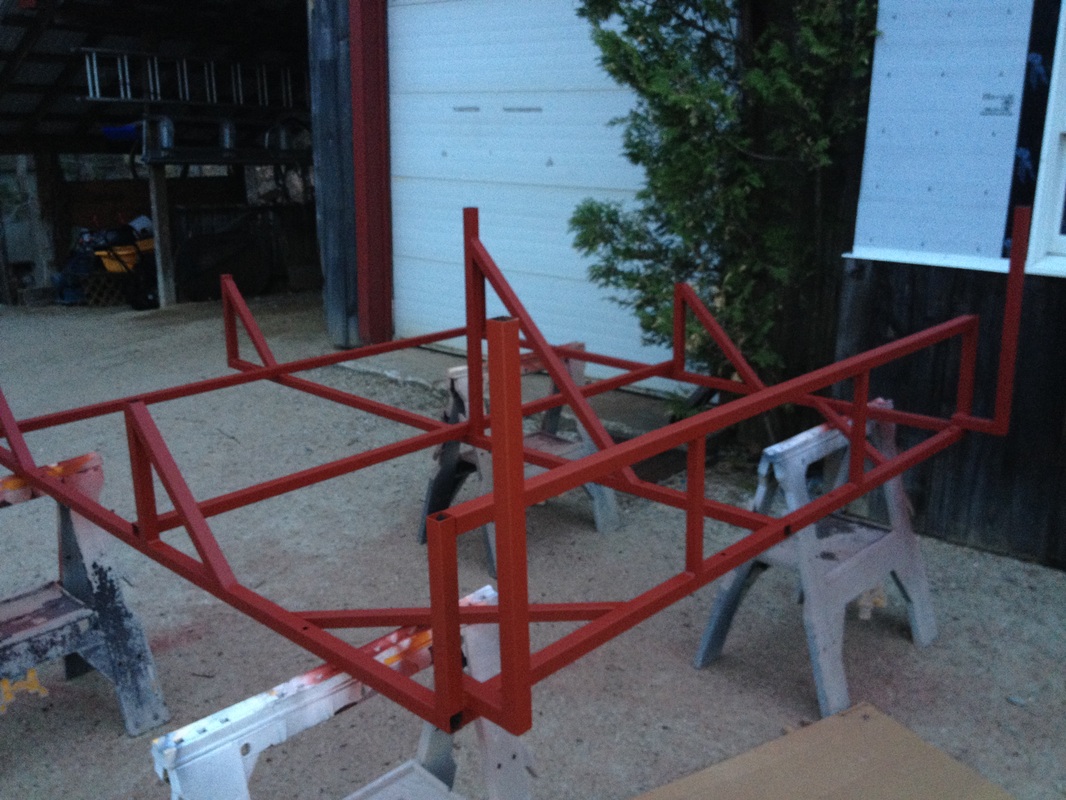
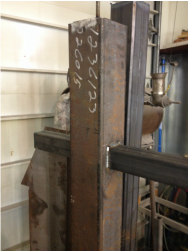
The last blog post I did on this sign was all about the post and structural support.
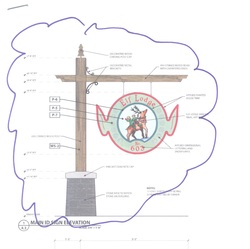
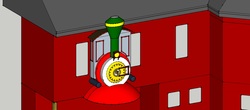
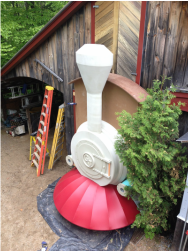
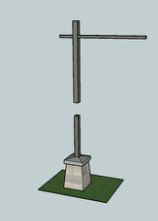
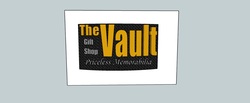
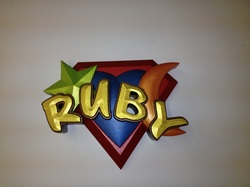
This image shows the overall sign concept.
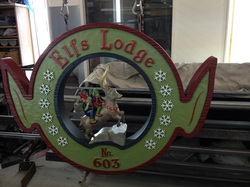
This blog post is focused on the circular sign itself.

Picture
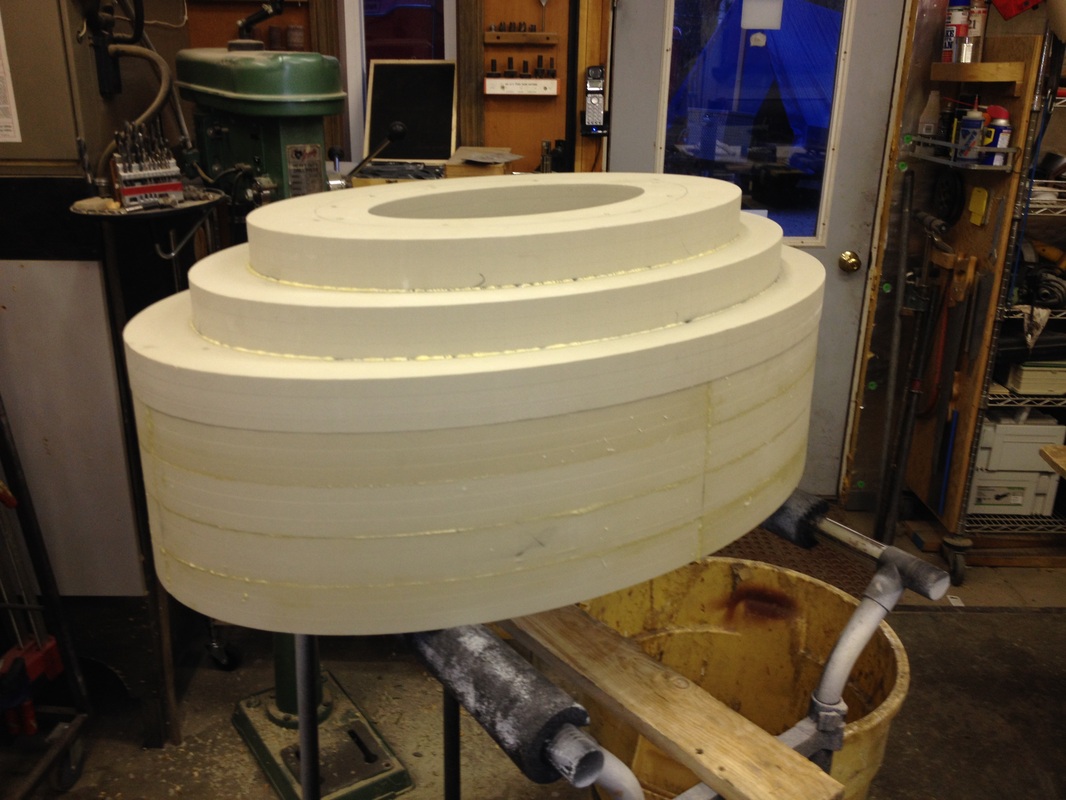
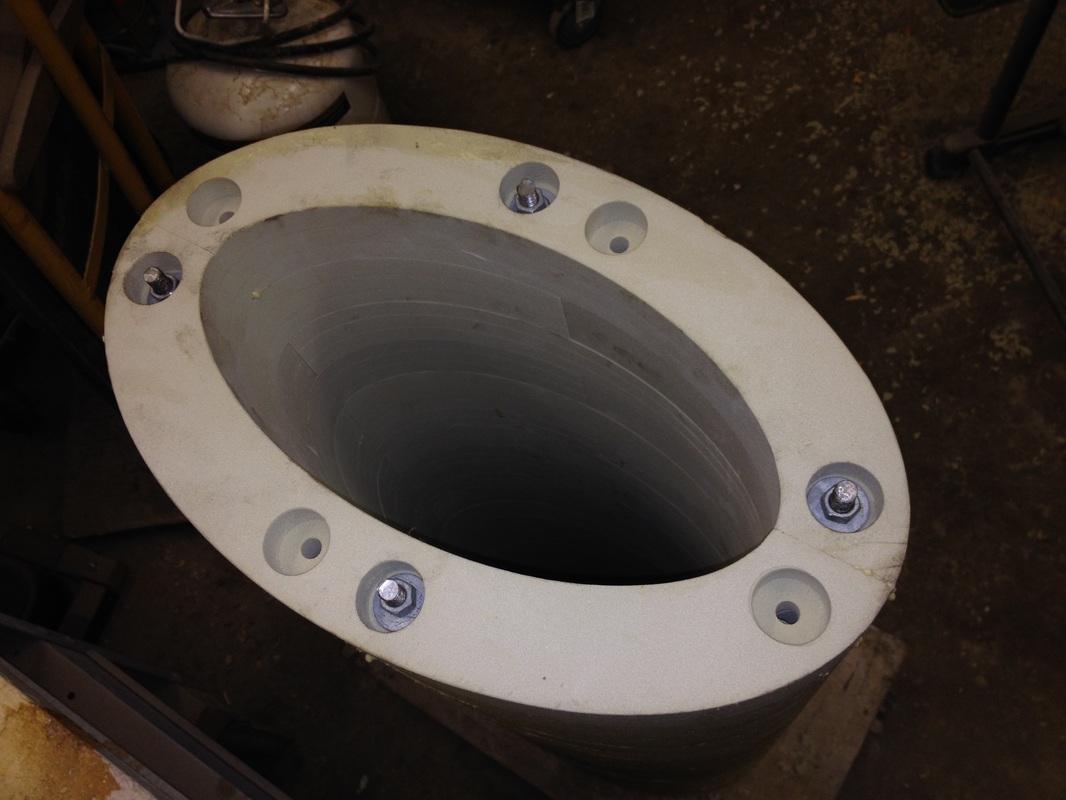
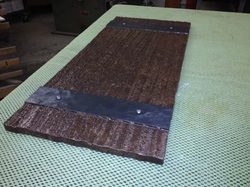
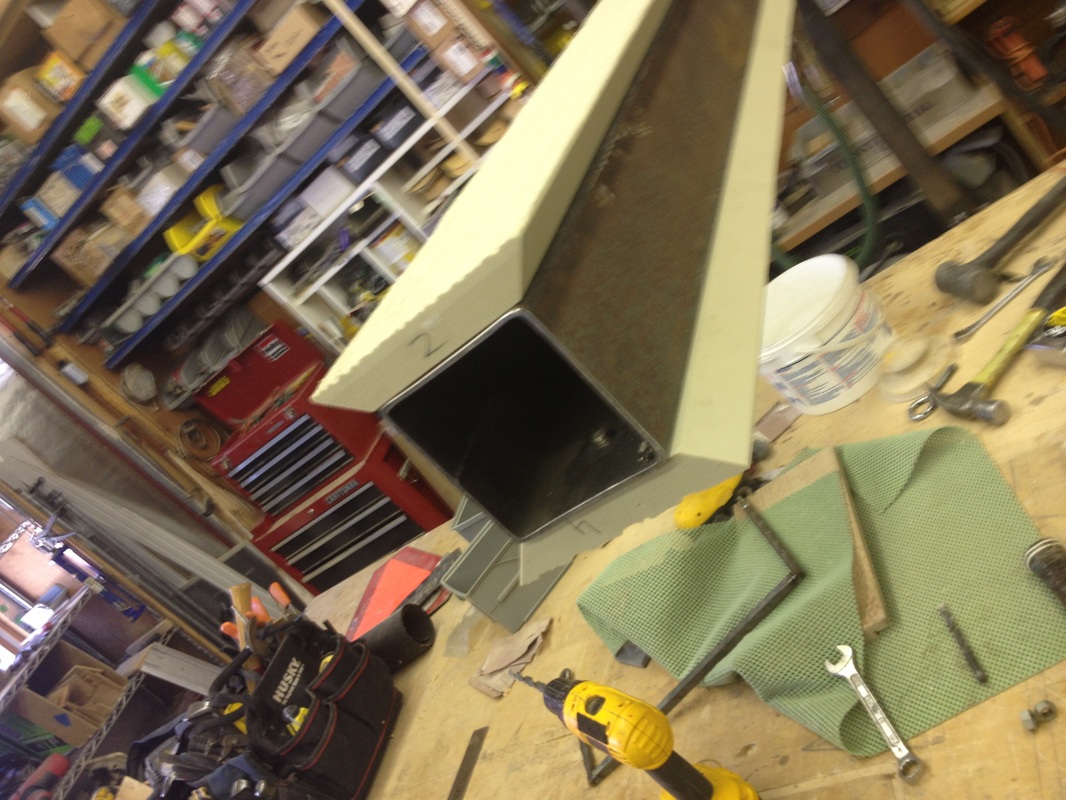
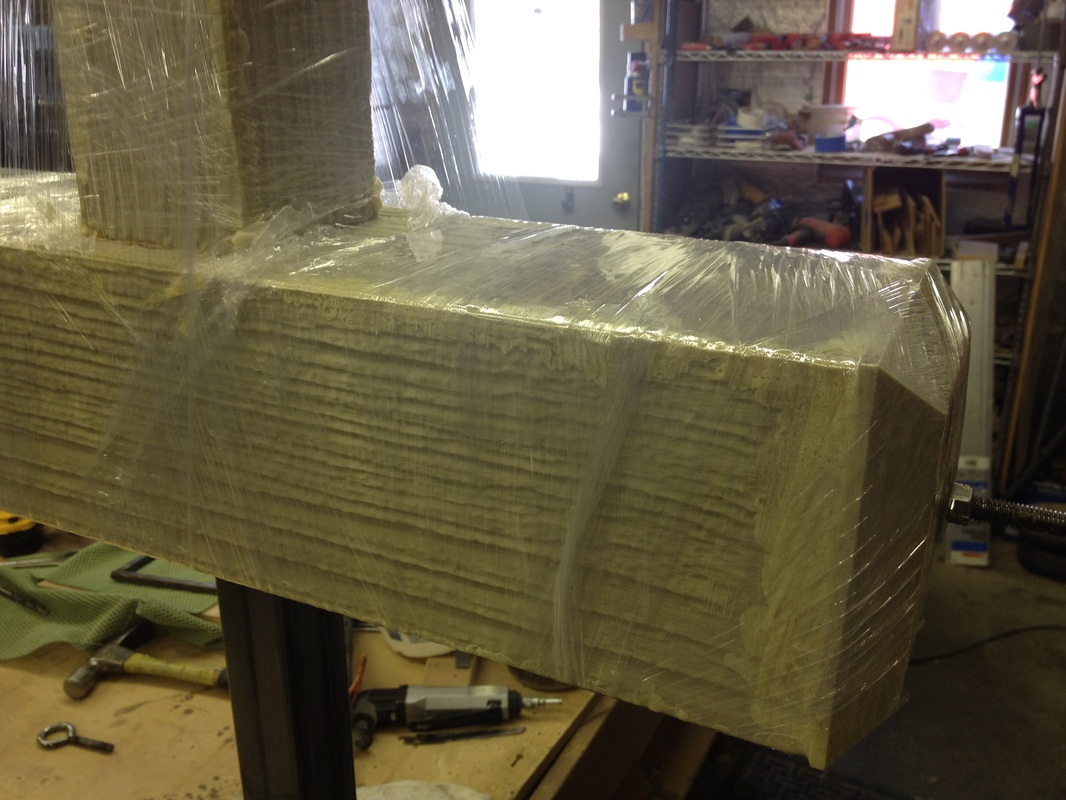
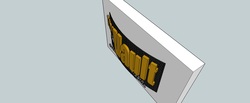
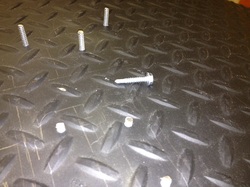
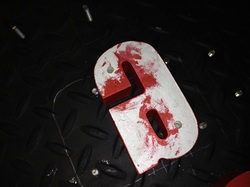
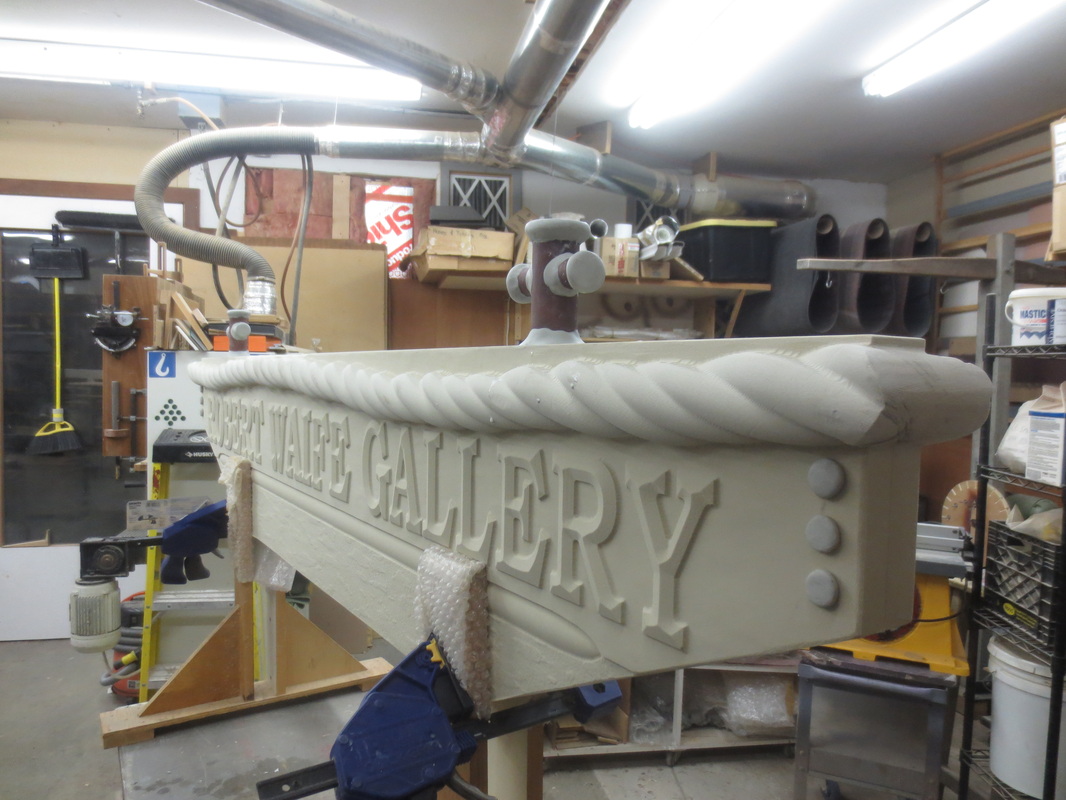
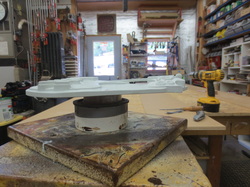
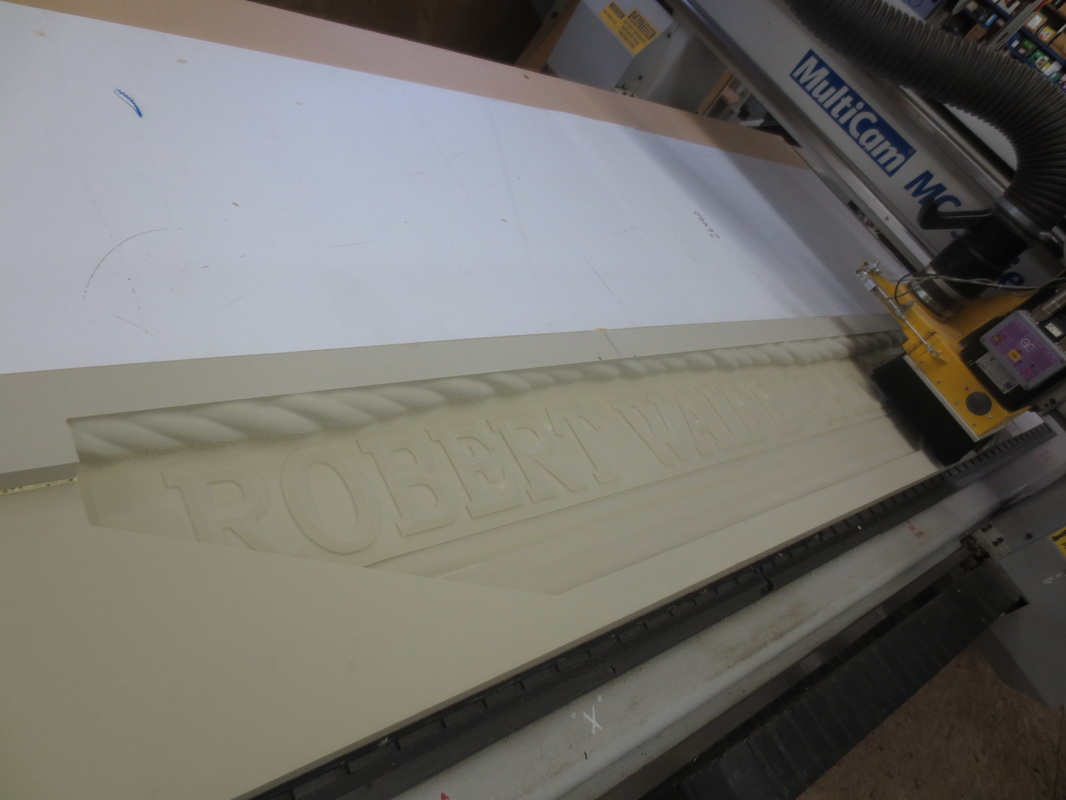
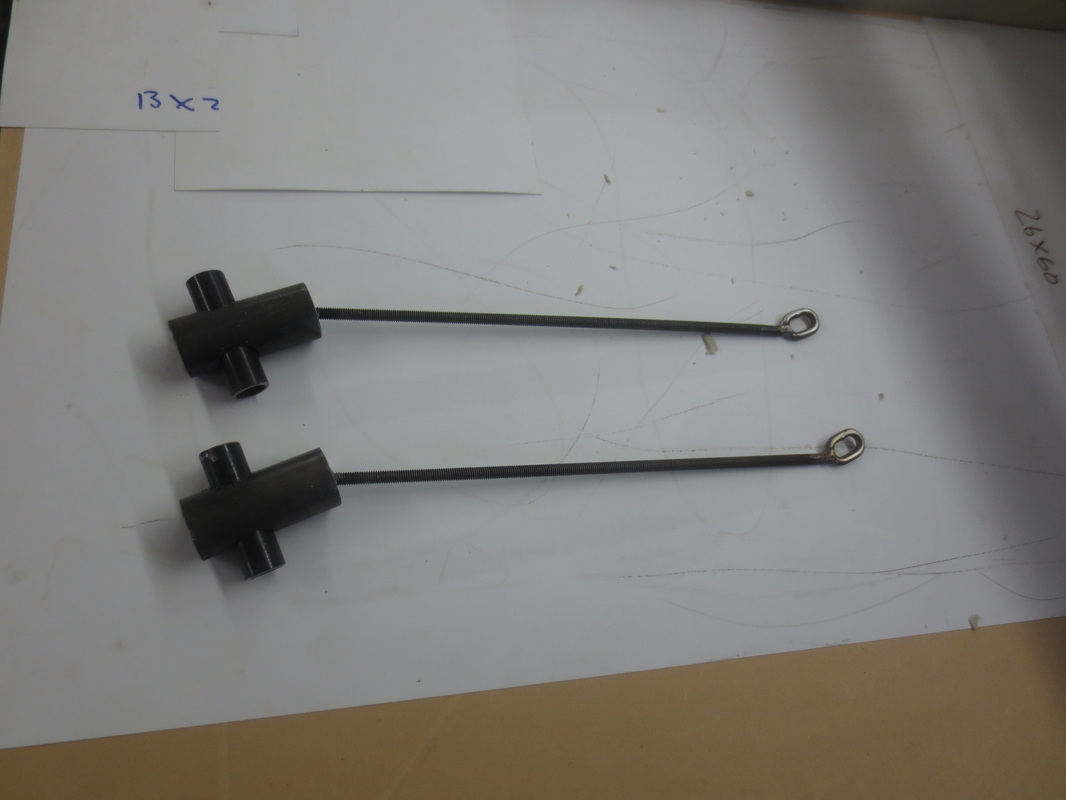
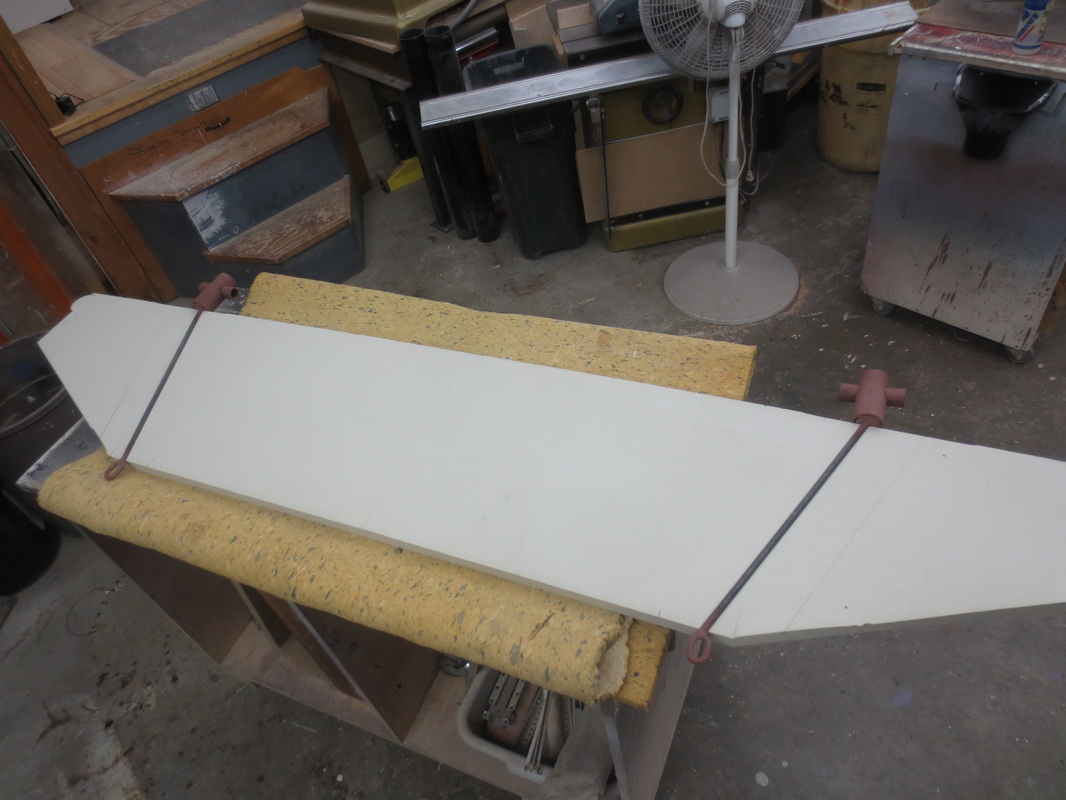
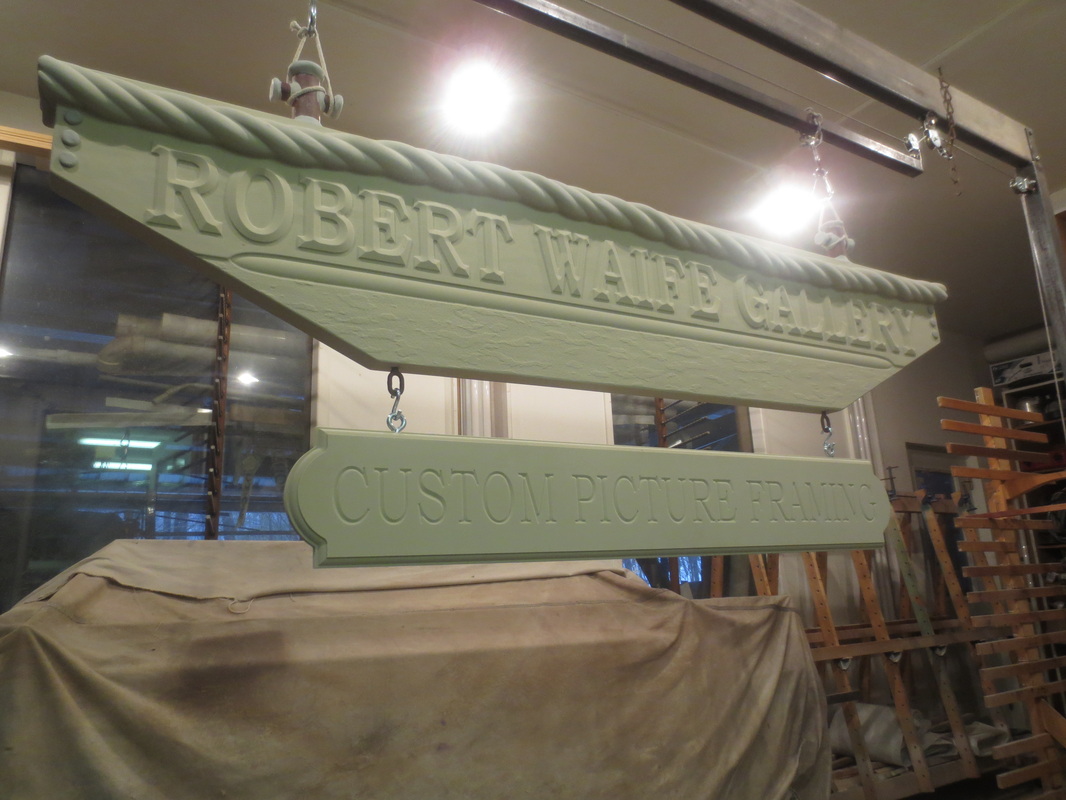
As most jobs go, the router plays a significant role in the fabrication process, This is a two sided sign so I routed each side separately. then glued them together along with a steel hanging bracket encased inside.
This sign is a total of 4" thick and 50" ear to ear.

Picture
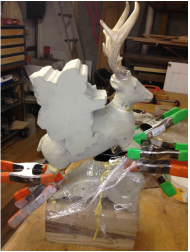
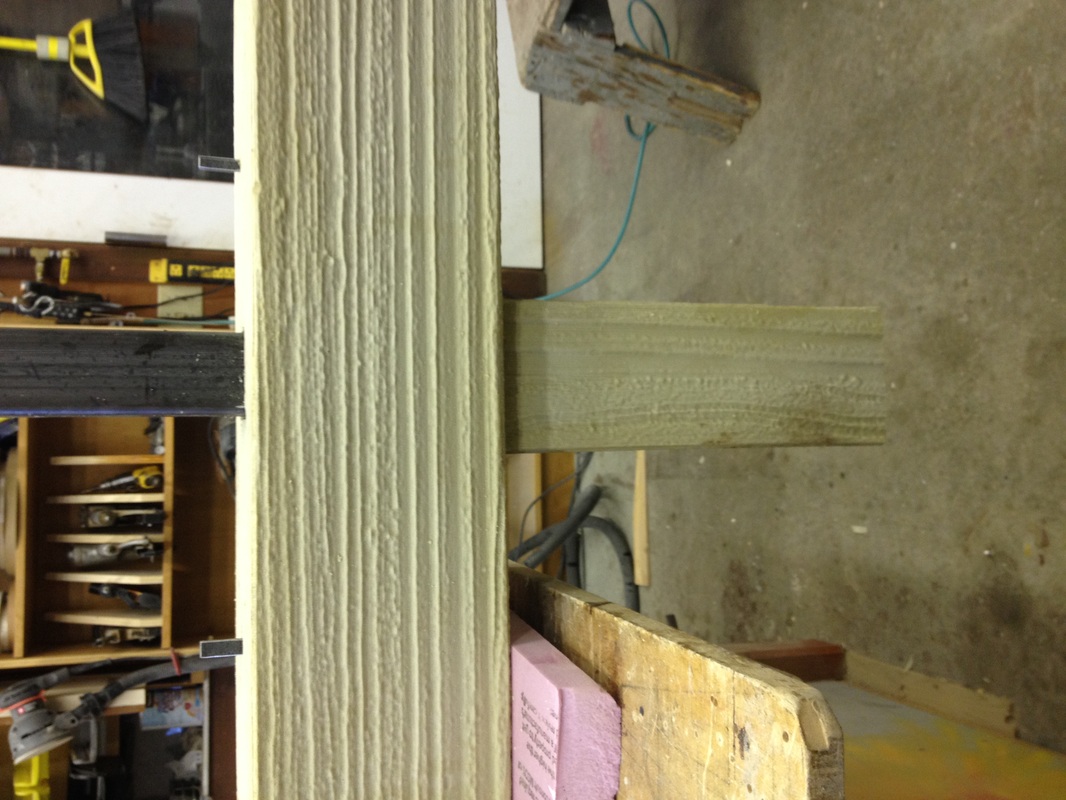
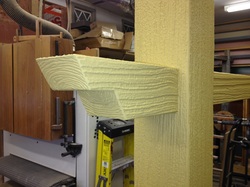
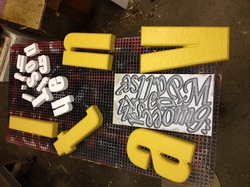
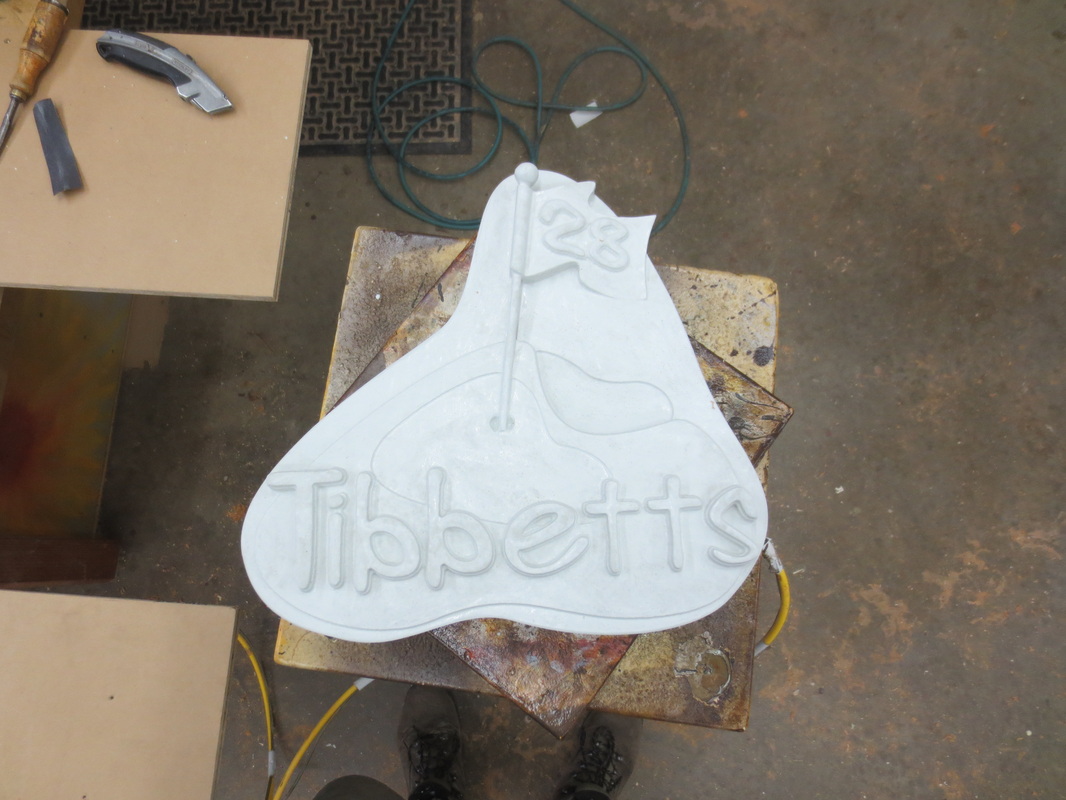
The center of this sign is a full sculptured piece depicting a reindeer with two elves on it's back .
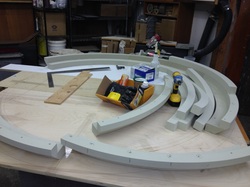
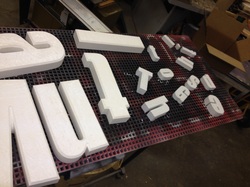
you can see the basic shapes as they are exposed from this block of foam.

Picture
This is where I realized I needed to split up these two elves

Picture
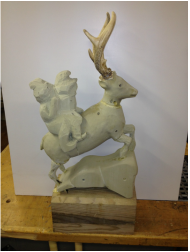
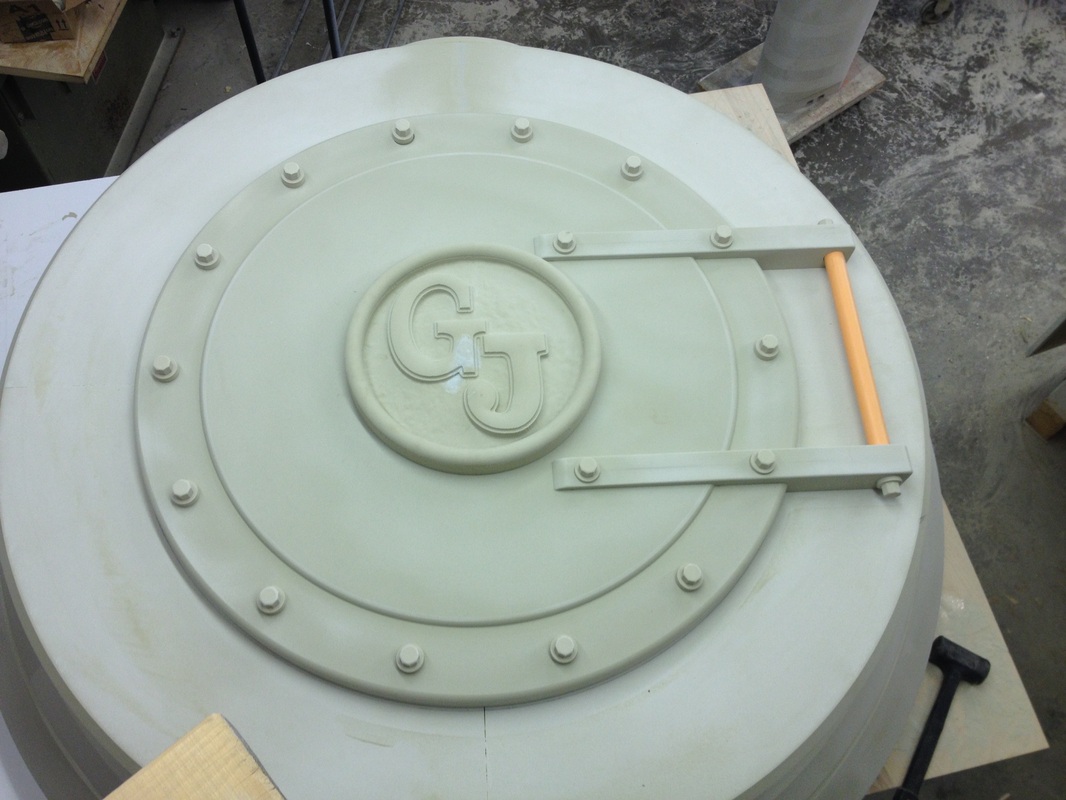
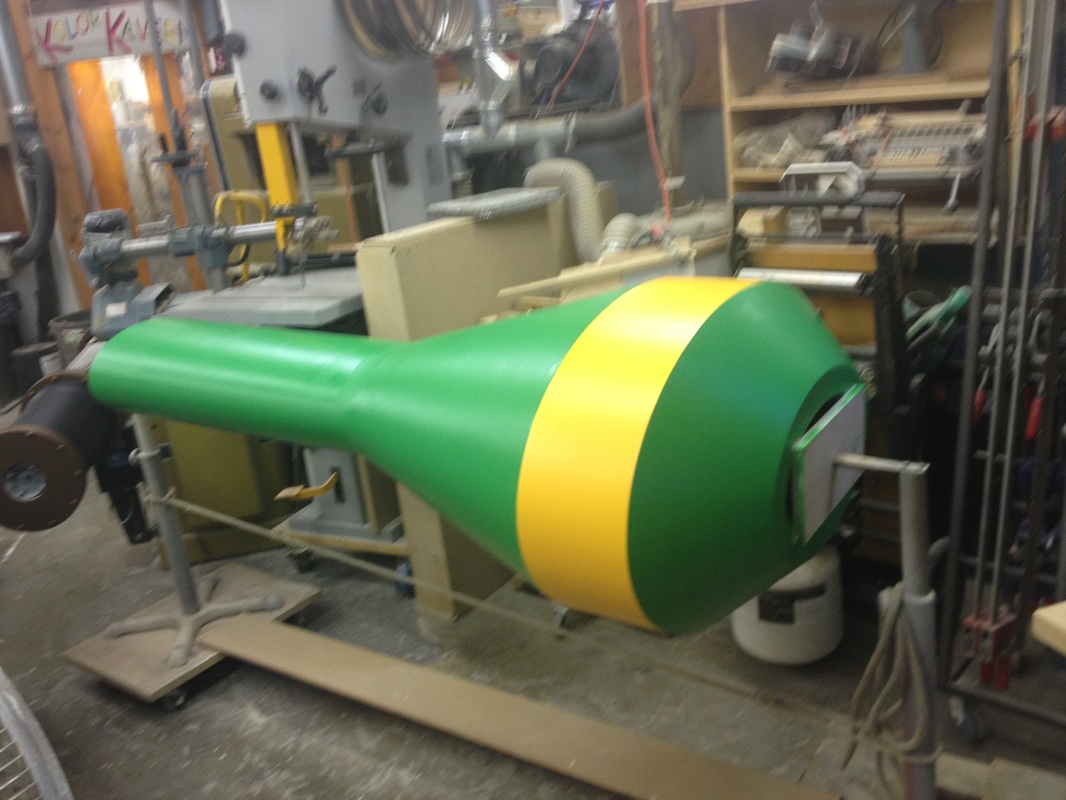
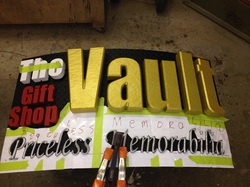
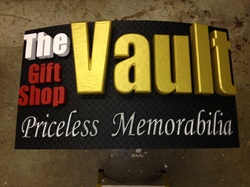
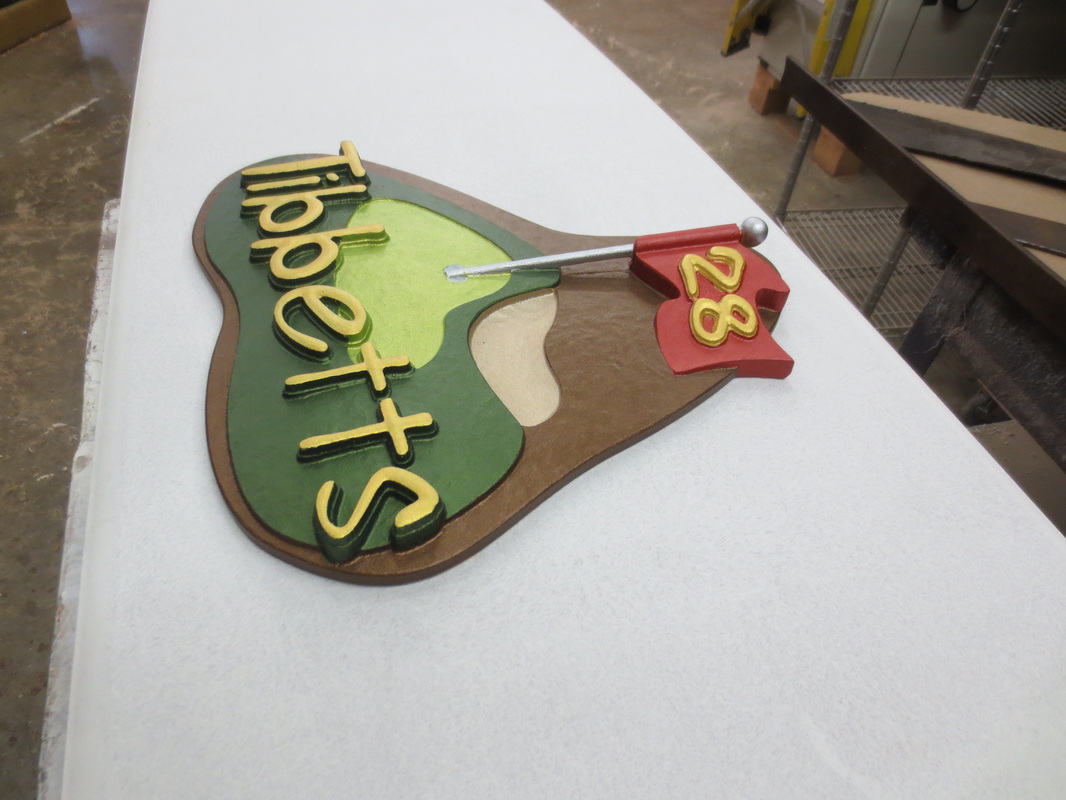
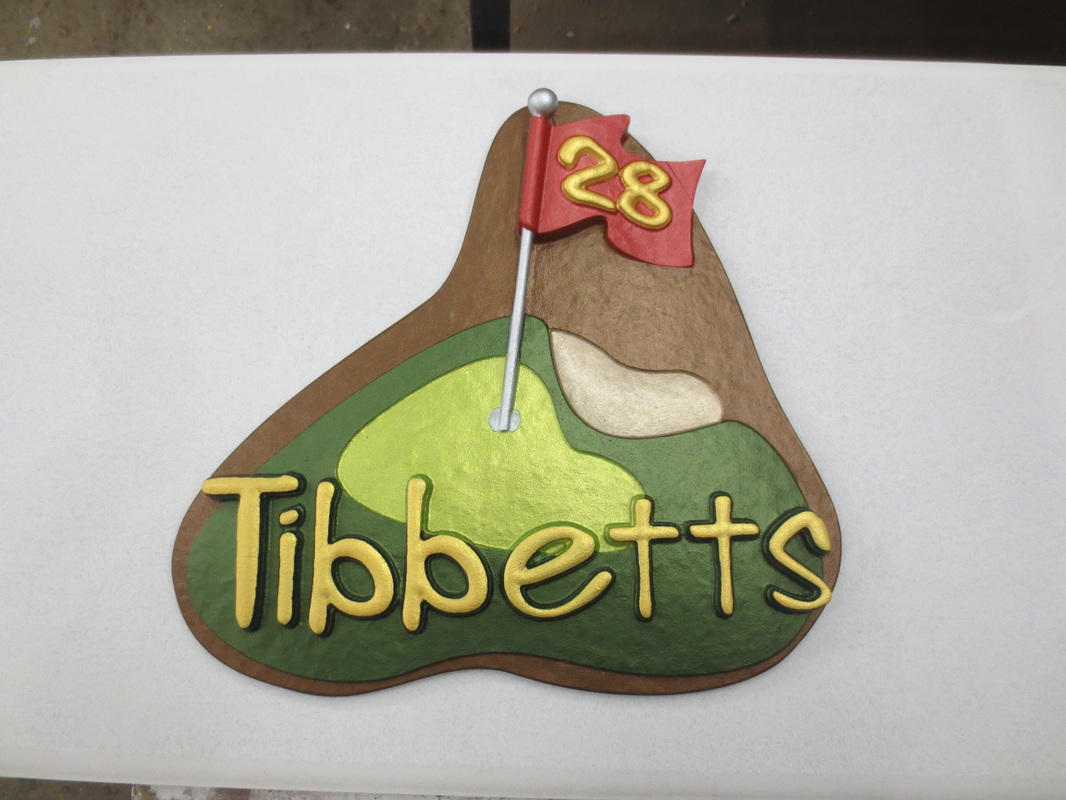
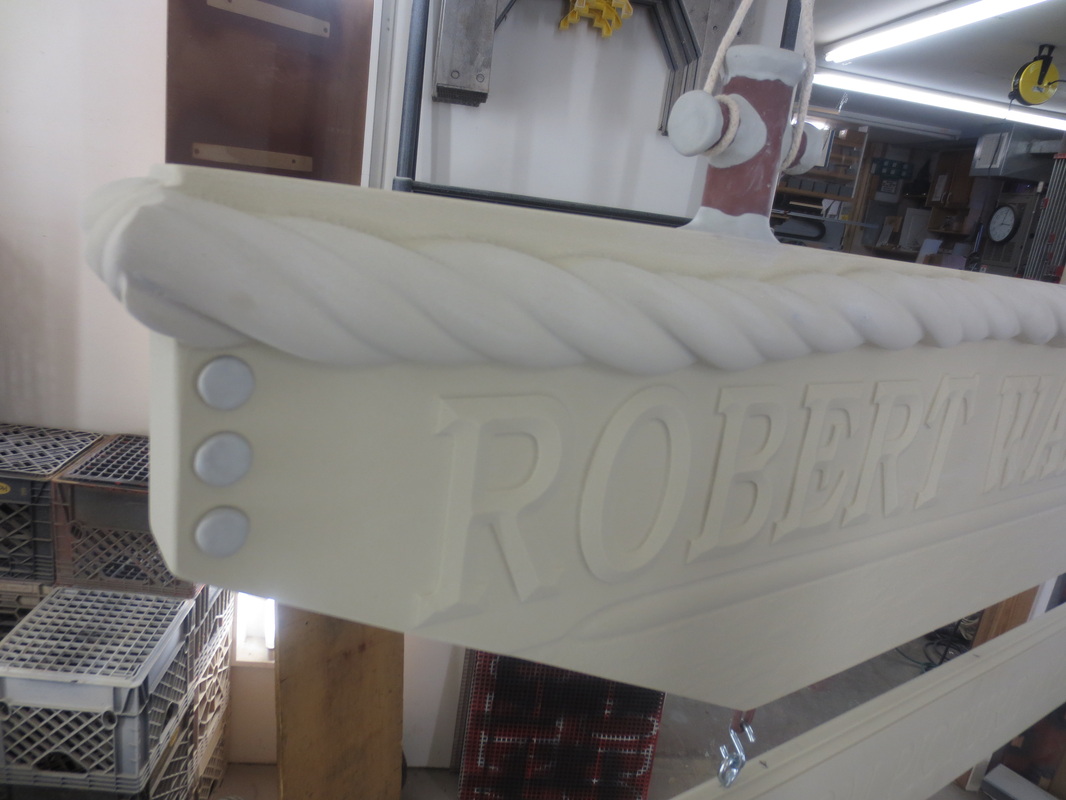
Things are really starting to take shape now, some final details and we are ready to start adding color.

Picture
The results even had me impressed.
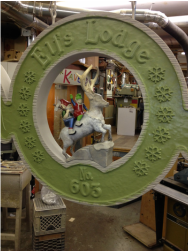
I delivered this sign before Santa's Village was ready to set it up, therefore I need to get up there and take some good pictures of it in place.


Picture
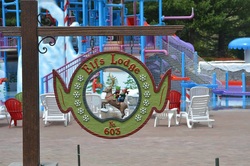
I have to assume  they liked it, This is a image that was posted on there face book home page.

1 Comment

Coming out of the station

6/4/2014

0 Comments

 
This project is for a local Breakfast & lunch restaurant that has a train theme, Glen Junction family restaurant in Glen New Hampshire (if you look on there web site you will see the piece that this new train facade is replacing.)
Picture
Every project has to start with a concept. I create these in Google sketchup ( a 3d modeling program that is very capable of creating concepts that I can share with the client.)

Picture
Then if all is approved the fun begins. "Parts Is Parts".
After quiet a bit of time designing , engineering, and allot of "how am I going to do this" kind of stuff, we are ready to send the files to the Multicam cnc router.

The above pictures from top left, 
  • while the router is hard at work I'm busy fabricating a structural steel frame.
  • as you can see the smoke stack sections are made up of multiple layers.
  • I was able to route in drilled holes for aligning the parts as I glued them together simplifying the assembly process.
  •  and finally some of the details of the front boiler face.
Picture
Gluing, shaping, sanding, fitting then a test run to make sure all will go together smoothly on installation day.
The awning was part of the original facade that has been removed from the building.

Then after disassembling, it's back in the shop for some color and all the other details that will bring the hole project together.
Keep an eye out for the after install pictures to see the finished project.
0 Comments

where the dragons sleep tonight

4/27/2014

0 Comments

 
Picture
As promised here is the finished product from the previous blog post.

This entire kitchenette was installed in one day including the stone alcove section above the counter top.


Picture
The exterior finish on the end panels , doors and drawer fronts are a carved texture routed from Moisture resistant Medium Density Fiber board "MDF" painted and glazed to resemble rough wood planks and steel straps.

All In all a pretty unique look for a unique room at Adventure Suites In North Conway New Hampshire.

0 Comments

sometimes you need to get stoned

4/13/2014

0 Comments

 
Picture
So In my intro to this web site I mention the use of a variety of different materials;
In this project , A kitchenette for a local theme motel, Adventure Suites in North Conway NH.. I am making use of some materials not usually used in a woodworking shop. The Name for this room is "The Dragon's Lair"

Picture
well first of all I wanted a somewhat primitive look to the face of the cabinet doors and drawer fronts, so I used a moisture resistant MDF and CNC router carved in a couple of textures that would resemble a rough plank look with forged steel straps and steel button head rivets for effect. The wood texture was painted and glazed to look authentic and the straps were painted using Modern Masters brand  "Steel grey" paint. Then this was clear coated for durability and ease of cleaning.

Picture
For the upper section I opted to do the stone effect using real stone veneer by  stoneyard.com .
If you compare this photo to the opening photo of this post you can see that the left top corner of this alcove gets a wall cabinet with a micro wave shelf to the right.
Oh Weight!  This thing is freakin heavy. But it did come out looking pretty cool almost looks like a Dragon's lair.
The counter top will be a "steel grey" granite with an antiqued finish.


I'll try to do a post or the final product installed keep you eye out for it.
0 Comments

post about a post

3/23/2014

0 Comments

 
Picture
So here is the concept sketch that I was given to price this sign for Santa's Village In Jefferson NH.
For the purpose of this blog post I will only be concentrating on the support post for this piece.
The way this is drawn the designer specifies a stained wood 6"x 6" post magically coming out of this masonry base, then a 4"x 4" horizontal piece also stained wood to pierce through the center of the vertical post.

Well the problems, to list a few are:
  • wood coming out of a masonry base will rot out in a very short period of time. 
  •  if it was to be pressure treated post it would shrink, split and twist as it dried out.
  • the joint were the 6"x 6" and the 4"x 4" meet is somewhat impossible to achieve and have a strong joint that won't trap water and again rot over a short period of time.
Picture
The solution: use steel for the sub structure and then make it look like wood.

I used a 4"x 4" steel tube for the vertical, and a 2"x 2" for the horizontal pc. Plasma cut holes through the 4" pc. then slid the 2" piece through it and welded it in place.

Picture
To the left is my drawing of how I saw the guts of this support to work.
The masonry base has a piece of 3-1/2"x 3-1/2" steel tube set in the stone work. then the post that I make slides down over the 3-1/2" post. 
Done! no rotting, shrinking, twisting, it's easier to fabricate as separate components, easier to install and easy to remove for winter storage or refinishing. Hopefully the latter will not be for quite a few years.

How do you get the steel to look like wood?
Using My Multicam CNC Router and Enroute software I was able to route the wood grain texture into the surface Of High Density Urethane foam.
I mitered the corners and wrapped the steel with the texured foam. 
see the pictures below:
Picture
working towards the finished product here is the connection were vertical and horizontal meet.
In this shot the post has been primed and the first base coat of paint has been applied.
It will get another base coat, then a glaze coat that will really make it look like stained wood and finally a couple of clear coats for protection.

0 Comments

The Vault

1/12/2014

0 Comments

 
Picture
This is my original concept drawing done in sketchup.

Picture
Another view showing the depth and different layers.

Picture
Some of the parts and pieces with the primer applied.

Picture
And then I add some color.

To be able to manage painting the finer text I left the cut pieces attached to the urethane foam that I cut them from, this way I didn't need to handle each piece individually as I painted them.

Picture
I came up with a pretty easy way to make some stand-off pins.
Using self tapping tech screws I tapped them into the diamond plate back ground then cut the heads off with my air powered die grinder.

Picture
 I pushed the letters firmly onto the pins thus making indentations on the back so I could drill holes on the drill press for the pins.
Then it was just a matter of using some silicone adhesive on the pins and the back of the letters to attach them.
For the letters that were spaced off the diamond plate I used nuts on the pins as a spacer.

Picture
Applying the script text was a bit more of a challenge.
I had to make a paper template to position the individual letters and carefully apply a continuous bead of silicone to the back of the letters and place them on the diamond plate.


Picture
the finished product.

What Will Be Next?????

0 Comments

Newest Addition

10/29/2013

0 Comments

 
Picture
See If you can guess our new Grand daughters name!
Made Of Router Carved High Density Urethane Foam & hand painted using Modern Masters Paints

0 Comments

Finally

6/29/2013

0 Comments

 
Picture
I just received this photo of a sign I made back in December.
The story behind this is a long one! So I'll try to condense it.

Picture
First did the design and fabrication.  It is made of High Density Urethane Sign Foam. With steel structure at the hanging points. (I should have inserted a horizontal steel reinforcement) you see why later.

Picture
Then carefully crated it and Shipped it via UPS to my client on Shelter Island Ney York.
Well! UPS wasn't so gentle!  It arrived at it's destination in 2 pieces.
After a tedious interaction with UPS. The client repaired the break and painted the sign.
Now It is Finally in it's permanent home attracting attention to my clients business.

0 Comments

check out the links

6/18/2013

0 Comments

 
Picture
This is my latest Mount Washington Valley's Chamber after hours voucher recipient.
The reguest was a golf theme with the house # and maybe their name.

Picture
I wanted to try a new trick on this one, I wanted the flag pole and flag to be tilted to the rest of the piece.
This meant I had to create a mesh object ( which is series of lines in layers that make up a mesh of the desired shape ).
You can rotate a mesh object but not a relief.
Once the mesh object is rotated then you change it into a relief.
it's difficult to see in this shot but you can make out how these two items are slanted.


Picture
Here is a shot of the finished result showing the tilt of the flag and pole.
It makes this piece much more dramatic having these two components raised and tilted

Picture
a better shot of the final piece.
This peice was presented to the recipient tonight at this months event at the Frontside Grind in North Conway, Nh.

0 Comments

making the barge a reality

1/1/2013

0 Comments

 
Picture
Once the design work is complete I glued up an additional layer of HDU foam so I would have the thickness needed to carve the rope element of this piece.
If you look closely you can see the added piece and the rope appearing as it is carved.
I actually run this same file twice on the Mulitcam CNC router to give me both sides of the sign.

Picture
While the router is doing it's work it's off to the welding room for me.
A little pipe here, some threaded rod there, a couple of links cut from a scrap piece of chain and presto, the structural hanging pieces are done.

Picture
These structural pieces get routed into the middle of the sign and the two halves are glued together.

Picture
The gluing procss taking place.

alot pf pressure here !!!!!
or should I say
"The big Squeeze"

Picture
Once Glued together I smooth the joints where the two halves come together. ( I use gorilla glue which expands as it cures and can really make a mess.)
Using Sculpting epoxy clay, I've added some detail to the Sign (note the Rivets)and some shape to the Sampson posts.

Picture
Here is the sign finished as far as I am going to take it. The owner is going to finish this one.
I'm hoping I'll be able to post some photos after he has completed the finishing procss.
I crated and shipped it.
THE BARGE HAS LEFT PORT DESTIN FOR IT'S NEW HOME ON SHELTER ISL. NEW YORK.

0 Comments
<<Previous

    Author

    Donald A. Johnson

    Picture
    This is an on going story of my explorations into the artistic world,chronicling the process of this journey.    Highlighting my successes as well as my failures. I'll try not to focus on the failures, but they are what has taught me the most.
      I Owe the ability to take this journey to; My Mom
    (for she bred in me a drive and creativity required for this type of trip) My Incredible Wife and Children for their support, and to the world of creative people that inspire me everyday.
     One in particular is Dan Sawatzky (click here to meet Dan) This Guy has Changed the way I look at things. He is truly an artist and a Visionary with passion.

    Archives

    June 2014
    April 2014
    March 2014
    January 2014
    October 2013
    June 2013
    January 2013
    December 2012
    November 2012
    October 2012
    September 2012
    August 2012
    July 2012
    June 2012
    May 2012
    April 2012
    March 2012
    February 2012
    January 2012

    Categories

    All
    Around The House
    A To Z
    Barge
    Benji
    Brewing Up A Storm
    Chamber Plaques
    Cow Barn
    Detzer
    Dragon's Lair
    Elfs Lodge
    Elf U
    Excavator
    Glen Junction
    It Does'nt Always Go Well.
    Moat Mountain
    Sawdustnsparks Sign
    Shop Helpers
    The Vault
    Towers Steeplejacks
    Trade Show Booth
    Tree Amigos
    Up In Arms

    RSS Feed

Powered by Create your own unique website with customizable templates.