
This is my original concept drawing done in sketchup.

Another view showing the depth and different layers.
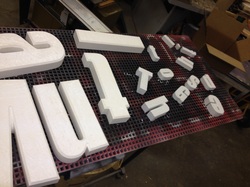
Some of the parts and pieces with the primer applied.
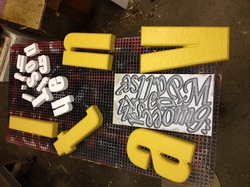
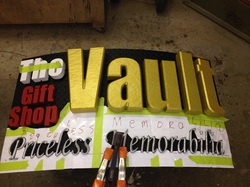
And then I add some color.
To be able to manage painting the finer text I left the cut pieces attached to the urethane foam that I cut them from, this way I didn't need to handle each piece individually as I painted them.
To be able to manage painting the finer text I left the cut pieces attached to the urethane foam that I cut them from, this way I didn't need to handle each piece individually as I painted them.
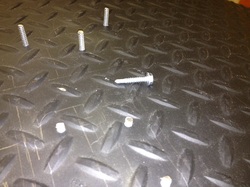
I came up with a pretty easy way to make some stand-off pins.
Using self tapping tech screws I tapped them into the diamond plate back ground then cut the heads off with my air powered die grinder.
Using self tapping tech screws I tapped them into the diamond plate back ground then cut the heads off with my air powered die grinder.
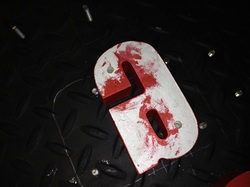
I pushed the letters firmly onto the pins thus making indentations on the back so I could drill holes on the drill press for the pins.
Then it was just a matter of using some silicone adhesive on the pins and the back of the letters to attach them.
For the letters that were spaced off the diamond plate I used nuts on the pins as a spacer.
Then it was just a matter of using some silicone adhesive on the pins and the back of the letters to attach them.
For the letters that were spaced off the diamond plate I used nuts on the pins as a spacer.
Applying the script text was a bit more of a challenge.
I had to make a paper template to position the individual letters and carefully apply a continuous bead of silicone to the back of the letters and place them on the diamond plate.
I had to make a paper template to position the individual letters and carefully apply a continuous bead of silicone to the back of the letters and place them on the diamond plate.
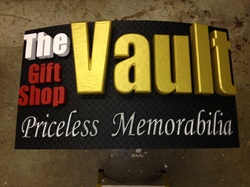
the finished product.

 RSS Feed
