• WELCOME
  • Blog "The Journey"
  • IN THE WOODS
  • LET'S METAL
  • A SIGN OF THE TIMES
  • CARVINGS AND DIMENSIONAL PIECES
  • DIMENSIONAL SIGN AND SIGN COMPONENTS
  • CONTACT
  • STILL BUILDING
Sawdustnsparks.com       603-356-9080

Who Needs Fonts

1/30/2012

0 Comments

 
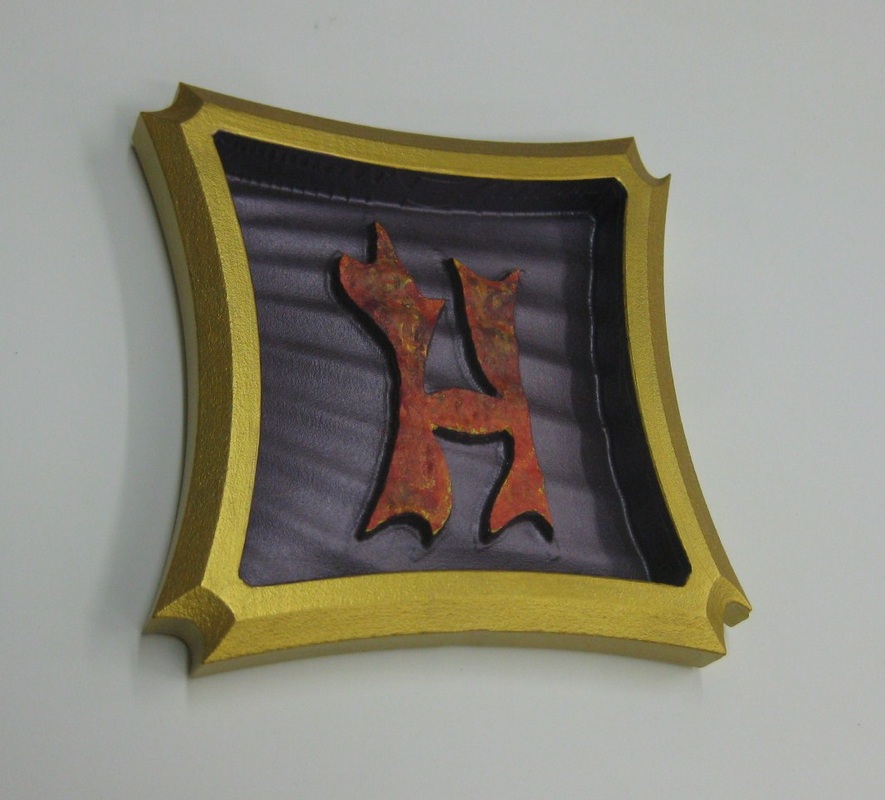
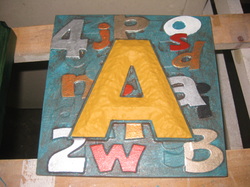
In The case of the "H" I created my own letter just by drawing it in Enroute.
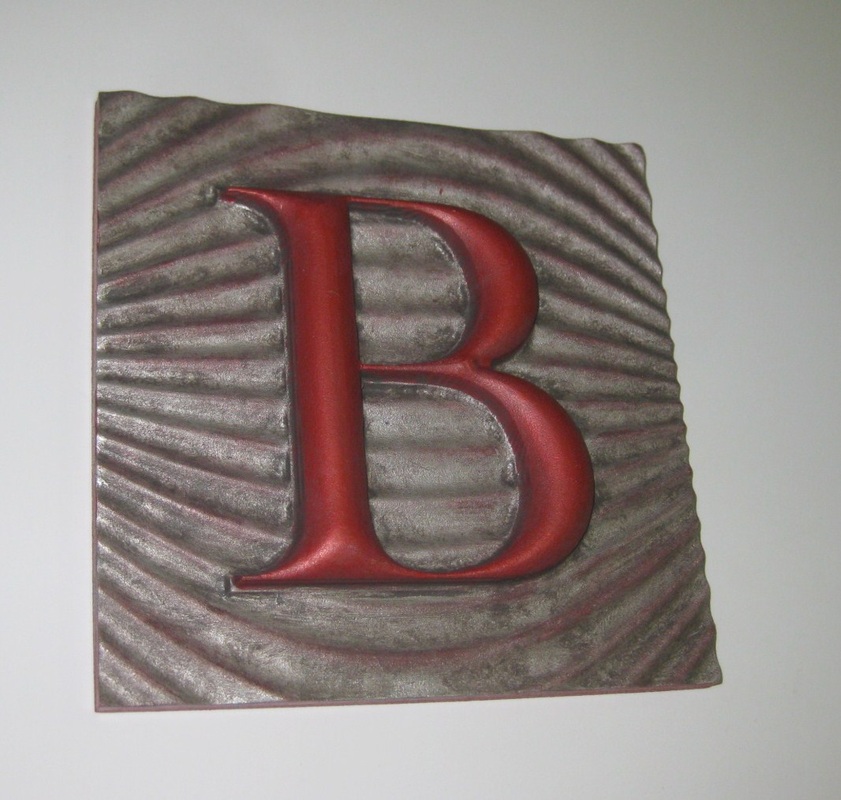
and placed it on a domed rerlief that had a texture Magic bitmap applied. This is the same bit map I used for the "B" but I resized it so I was only using a small portion of the bitmap.
Picture
Picture


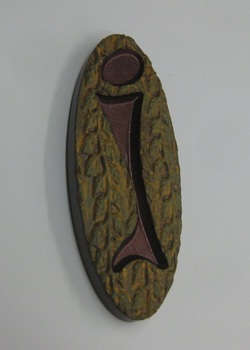
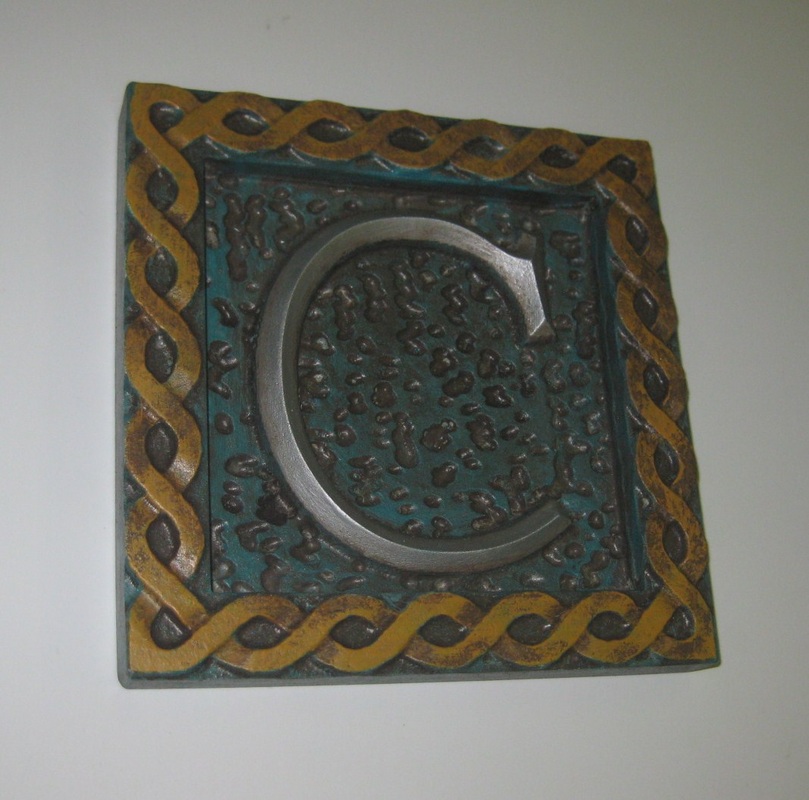
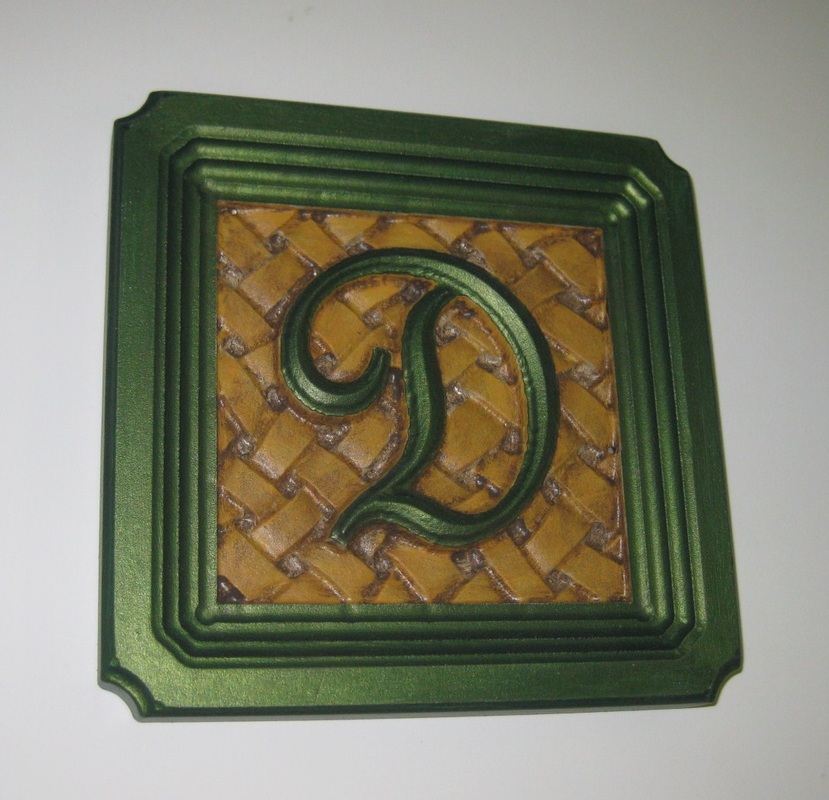
Again I created my own letter and subtracted it from a refief giving it the recessed section. A vine bitmap was used here.

Picture


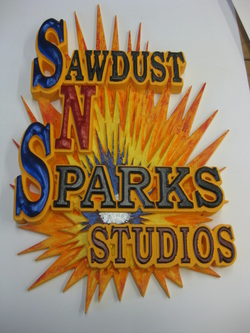
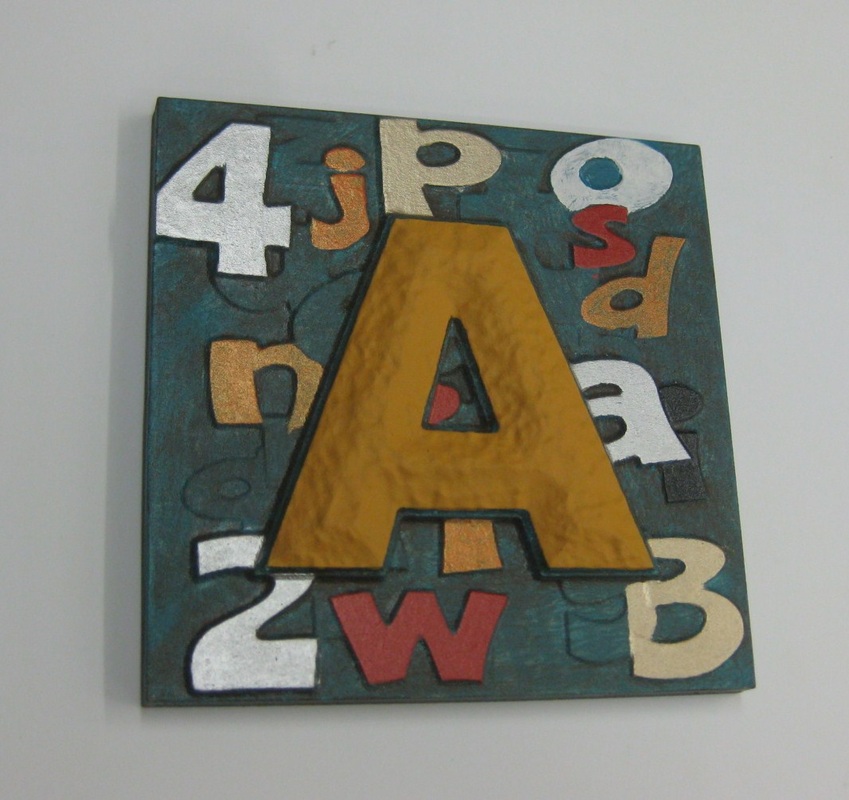
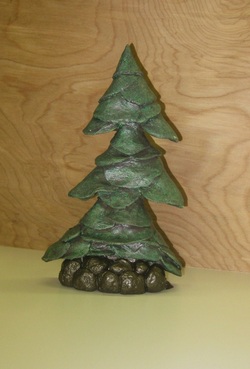
I just couldn't resist having a little fun here.

This guy consists of 6 reliefs and 3 bitmaps.


Only 16 more to Go stay tunned.

0 Comments

Trying to catch up at the speed of light.

1/28/2012

0 Comments

 
I started this blog after I had been about 1/2 way through the abc project.
So while trying to chronicle that process I have other pieces in the works.
Picture


I just had to do a new sign for Myself.
I took the logo from my business card and tried to replicate it as closely as possible in a dimensional piece.

Below are some shots taken during the process. sorry not exactly in order but I think you can determine the correct ordering. I did learn from this example ( it's very difficult to do very thin points when cutting with this type of material). It Tends to want to bend and flex, I should have left more of an onion skin on the bottom of the piece while cutting to help hold the delicate parts in place.
0 Comments

What the "F"

1/27/2012

0 Comments

 
Picture
The F uses the rope trick available in Enroute.
You basically draw four overlapping circles,and erase all the lines that are inside the perimeter and end up with something that looks like a four leaf clover without the stem.
Then you tell that shape to follow a line and rotate as it goes around and whala you have a rope.
Just one of the features in Enroute.

Picture


The "G" I've put a woodgrained texture on a depressed domed relief, then applied the letter outline and the letter reliefs to that scooped shape.
The finishing of the back ground for the "F" &"G" have glazes applied.

I like the way the wood behind the "G" turned out.

More to come keep your ears on
0 Comments

Lets's start with the basics

1/26/2012

0 Comments

 
The letters A to E are somewhat basic in design. As this progresses so do my abbilities. That's why I'm doing This.
These are flat reliefs with bitmap textures applied working with different hieghts etc. The letters are reliefs themselves and in most cases these are placed on a flat relief just a tad bit larger than the letter as an outline, This outline makes the painting much easier by giving you a crisp edge to paint to.
The C,D & E Add additional releifs around the outside.
 The C uses two bitmaps One for the background that the letter sits on and a weave pattern bitmap around the perimeter.
 The bit maps I'm using are from Dan Sawatzky's Texture magic collection.
  I should also mention that these letters are all done Using High Density Urethane Sign Foam, Then the Majority of the finishes are from the Modern Masters line of metalic paints.

Only 21 more to Go u-all come back now ya here.
0 Comments

On We Go

1/23/2012

0 Comments

 
Well now with the the "Z" cut and then the  finish complete on the last group of letters I can officially put a close to the alphbet project. 
Picture
The Process was a long one but every bit worth the effort.Each letter is utilzing some different Enroute tools to build the files. Then once built and sent to the Router The process of finishing each piece brought it's own set of techniques.
Over the next couple of blogs I'll be explaining some of the techniques and Enroute tools used to create each piece.
 As You Might notice I mixed in a few other little gems in with the ABC project.
Picture
These examples show that what ever you can dream up you can create.


More Too Come !

0 Comments

WORKING ON MY ABC'S

1/19/2012

0 Comments

 
While recovering from rotator cuff sugery I've been trying to put the down time to good use.
One of the projects is to work on the fundamentals of Enroute software.
I've taken a chapter out of Dan Sawatzky's play book, (I recommend this practice to any one using Enroute).
In This project I'm making letters from A-Z , these are approximately 8"x8"
and all cut from "High Density Urethane Foam" (sign foam).
To Build each letter I'm using different techniques starting with the design process to the finishes.
Picture
I started this project prior to starting this blog so I'll try to recreate the process as best I can.


As I write this first installment to this catagory (A to Z),
I have actually just completed cutting the last letter  Z.


please follow along and add coments

0 Comments

Off to the paint depart

1/14/2012

0 Comments

 
Once all the sculpting is completed It's Paint, Paint & more Paint.
Picture
First coat is a thick Primer (the white) Then we start with the base coats not being too careful cutting in as the subsequent colors will be cut in to the first coat. You try to work your way out from the middle.

Picture
Some other colors added and details begining to come out.

Picture
Adding some glazes gives the textures and colors some depth and patina.

Picture
One final go round with the detail colors to touch up.
Then I hand paint the Text.
And last but not least a clear coat for protection.

Done !!!

Picture
0 Comments

The router & technology only go so far

1/13/2012

0 Comments

 
Once the router has done the bulk of the work along with some of the detail carving and such.  The next steps involve human interaction.
Picture
I first build out some areas that I want do add some dimension too. This could be done with the software and incorporated into the router work (but thats why we practice, so we get to see how these things come out) maybe next time. 
In this shot I have also glued the two layers together using Gorilla Glue. The srews are used as clamps.
Behind the trees Are the carrige bolts that hold the steel bracket to the sign.

Picture
Once the glue has dried, I shape the tree bows using a right angle die grinder with a small sanding disc, This allows me to get the edge of the disc into the tight crevases.
at this point it looks pretty good ,Really getting some depth and detail.

Picture
Then comes the tedious sculpting work using Abracadabra two part sculpting epoxy.
You mix this stuff in equal parts shape it, let it dry overnight and presto its rock hard.
Here I've  layered the bows on one by one starting at the bottom and working my way to the top.  A good work out for the thumbs.
I've also sculpted some shape into the boulders in front of the house.

Till the next installment coming soon

0 Comments

Post Title.

1/11/2012

1 Comment

 
I've been working on a little project to test my techniques. It's a sample piece that encorporates alot of the tools in my arsenal, Design, building reliefs(using Enroute software),Routing, Carving, painting and Glazing.
Picture
This is what I started with.
Picture
Traced around the parts of the picture I wanted using Enroute, and created two different reliefs, one for the back ground or the main body of the sign and the second was the trees and the landscape between them. This picture shows both reliefs as they will be applied to each other.

Picture
Then off to the Multicam for some router magic.

I'll post more in the next few days. Keep Checking back.
1 Comment

Post Title.

1/9/2012

0 Comments

 
I'll try to get you up to speed as to what has brought me to where I am today.
 Construction-laborer,Carpenter,General-contractor,woodworker, cabinemaker,furniture maker, Gallery Owner to now. That covers about 33years.
 3 yrs ago I purchased a used CNC router (a multicam) with that purchase I also purchased Enroute Software (one of the best business decisions of my life).
Through research for the software I stumbled across this guy Dan Sawatzky.
Through following Dan's blog I learned that I had to meet this man. So I opted to fly across the country and drive to another Country (Canada) to attend one of Dan's workshops.
This guy ruined me! The techniques that he taught us in the workshop changed the way I look at approaching certian projects.
     You'll see more of what I'm talking about in the blogs to come.
0 Comments
<<Previous

    Author

    Donald A. Johnson

    Picture
    This is an on going story of my explorations into the artistic world,chronicling the process of this journey.    Highlighting my successes as well as my failures. I'll try not to focus on the failures, but they are what has taught me the most.
      I Owe the ability to take this journey to; My Mom
    (for she bred in me a drive and creativity required for this type of trip) My Incredible Wife and Children for their support, and to the world of creative people that inspire me everyday.
     One in particular is Dan Sawatzky (click here to meet Dan) This Guy has Changed the way I look at things. He is truly an artist and a Visionary with passion.

    Archives

    June 2014
    April 2014
    March 2014
    January 2014
    October 2013
    June 2013
    January 2013
    December 2012
    November 2012
    October 2012
    September 2012
    August 2012
    July 2012
    June 2012
    May 2012
    April 2012
    March 2012
    February 2012
    January 2012

    Categories

    All
    Around The House
    A To Z
    Barge
    Benji
    Brewing Up A Storm
    Chamber Plaques
    Cow Barn
    Detzer
    Dragon's Lair
    Elfs Lodge
    Elf U
    Excavator
    Glen Junction
    It Does'nt Always Go Well.
    Moat Mountain
    Sawdustnsparks Sign
    Shop Helpers
    The Vault
    Towers Steeplejacks
    Trade Show Booth
    Tree Amigos
    Up In Arms

    RSS Feed

Powered by Create your own unique website with customizable templates.