• WELCOME
  • Blog "The Journey"
  • IN THE WOODS
  • LET'S METAL
  • A SIGN OF THE TIMES
  • CARVINGS AND DIMENSIONAL PIECES
  • DIMENSIONAL SIGN AND SIGN COMPONENTS
  • CONTACT
  • STILL BUILDING
Sawdustnsparks.com       603-356-9080

The end of another Project

2/25/2012

0 Comments

 
Picture
I love it when a idea comes together.
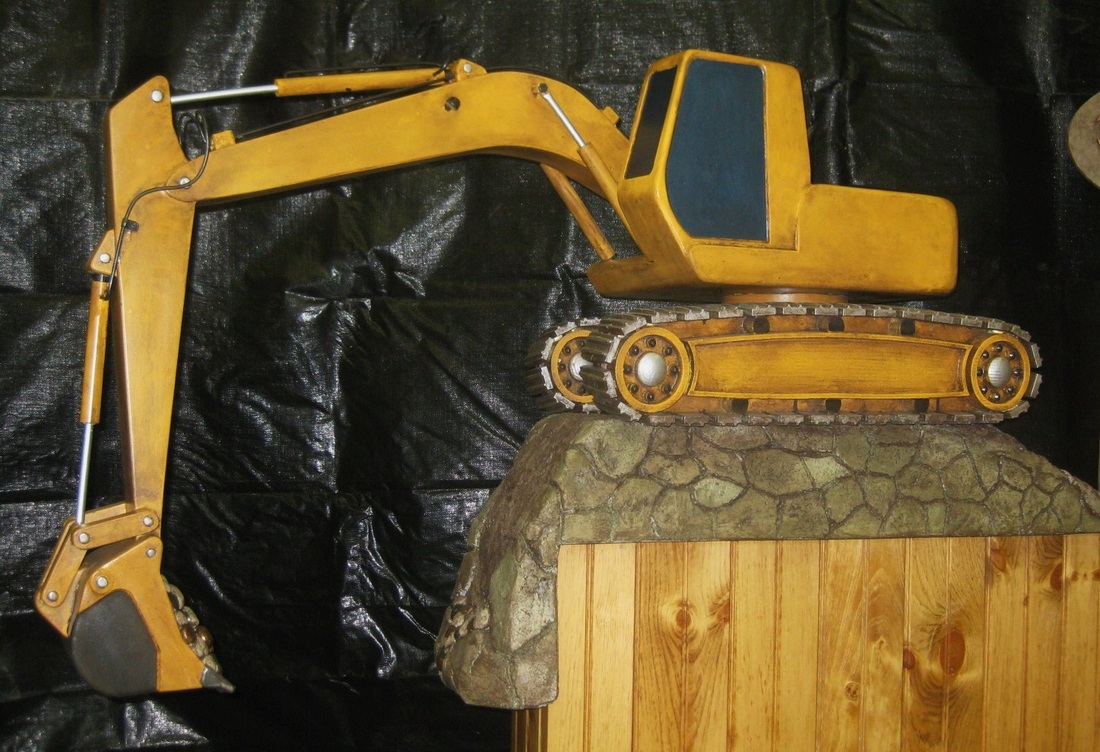
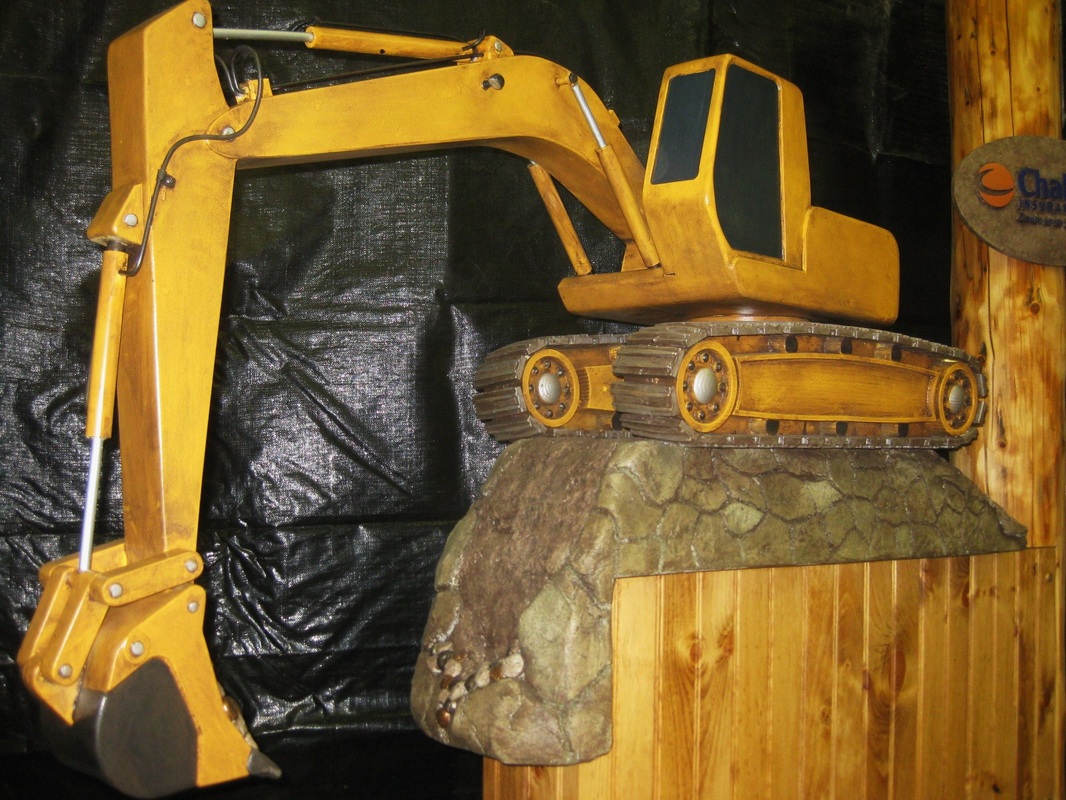
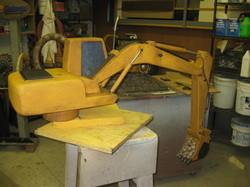
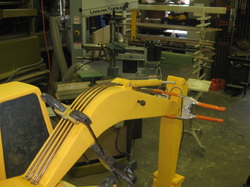
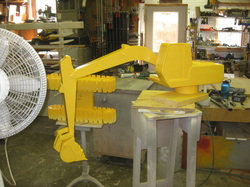
This is the finished excavatorReady to go to work and show potential clients what is possible.

Picture
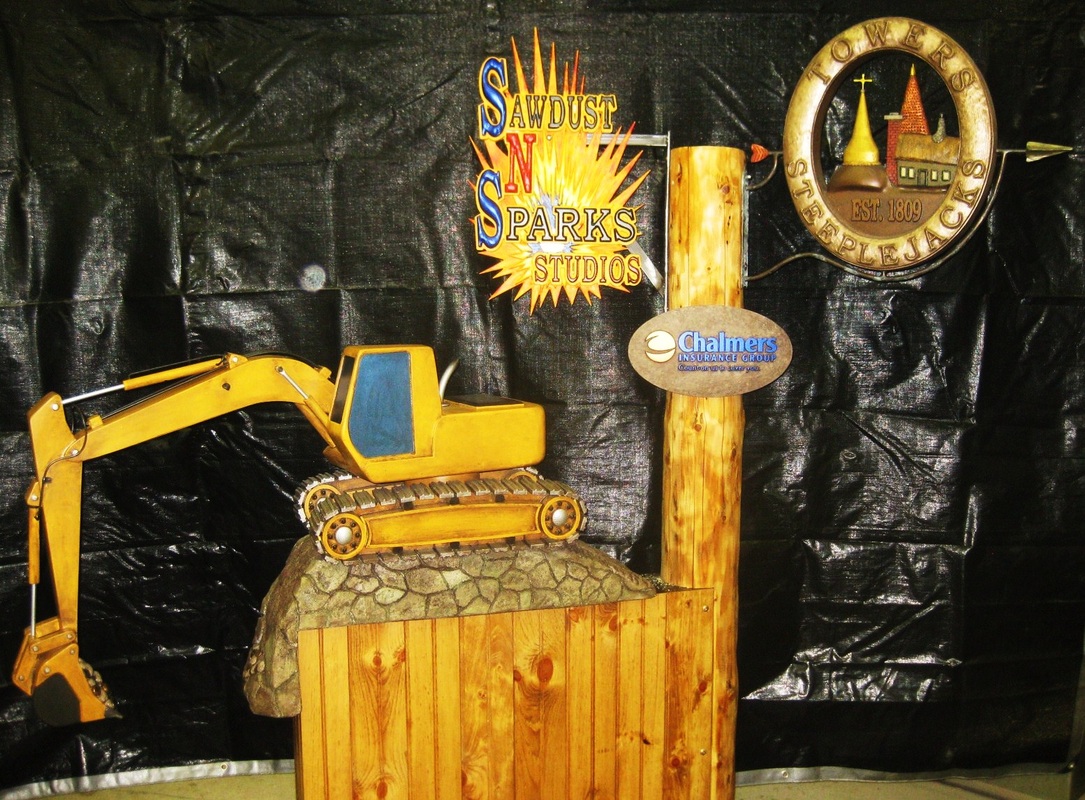
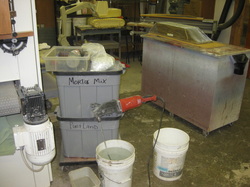
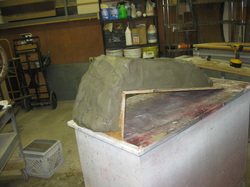
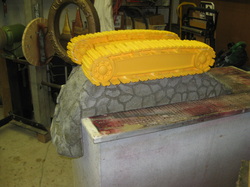
I've been working on a display for a couple of shows I have coming Up.
March 20th The Chamber after hours @ Chalmers Insurance.(were I get my introduction as a new Member)
And May 15th @ The Business to business expo @ the Mount Washington Hotel In brenton woods.
This is what I've come up with so far, A few more things to add but It's looking pretty good.

Picture

Done !!! Time To head back to the Barn.

0 Comments

THIS IS HOW BEING OLD AND DIRTY LOOKS GOOD

2/24/2012

0 Comments

 
Picture
This has by far been the toughest glazing Job to date.
The Glaze I use is a mixture of exterior house paint and water based urethane (About 65% paint & 35% urethane,)

This mixture gets brushed on trying to cover all surfaces then wiping off and rubbing off the areas you want to keep lighter and leaving the glaze in the recesses and textures to make things look old and worn, or in this case worked!!!
This Machine didn't just come from the dealer!

Picture
This is a tedious but necessary process. You Need to work fast (no waiting for paint to dry here) it will get away from you faster than you think.
It's important that you have everything ready before you start, (a variety of wrags, some water on hand to soften things up if you get behind). You also want to make sure the heat is down and there are no fans blowing on the work.

Next we're into final assembly and Clear coat.
0 Comments

Getting Hosed.

2/23/2012

0 Comments

 
Picture
I struggled with the decision to add hydraulic lines or not. After all this machine looked pretty good, and if it were to be installed on an exterior sign it would most likely be viewed from a distance. But as this is ment as a display piece I took the plunge and added the lines.

When I go to the dump I rarely come home empty handed, call it repurposing. These hydro lines came from pieces of pencil rod (3/16" metal rod) which I found in the dump metal pile.Score
Fitting bending
and fitting and bending,making the brackets that hold the lines securely in place, Cleaning the rust off the pencil rod then finally glueing and in their final position, what a tedious adventure.
But what It added to the realistic look of the machine was well worth it.
Below are some shots of Glue drying (I was going to do a video but I didn't have enough memorie in this blog for that)
Ready to move on to the Glazing process.
0 Comments

Carved in concrete

2/20/2012

0 Comments

 
0 Comments

Carved in concrete

2/20/2012

0 Comments

 
The next step was building up a base sfamewwork out of pressure treated plywood and covering that with wire mesh.
Picture
Prepped and ready to sculpt.
The attendies for this act, Concrete mortar mix, Portland cement, Fiber glass flakes ( for strenght) water, powerfull mixing drill (Milwaulkee Super Hole Hog) and misc trowels and sculpting tools ( sticks , knives, pointing trowel, stiff brushes and crumpled up alum. foil.
And the star of the show the base with mesh applied.

Picture
Just after applying the concrete,now it's patience. You have to let the concrete mix stiffen up before you can sculpt it or it will turn to soup and fall off.

Picture
There now it's starting to look like something.
While waiting for the concrete to set up I moved on to the base coat for the track and machine.
Prior to the base coat was a hand applied primer coat. This rimmer is so thick( like thin pancake batter) that it has to be brushed on, this process took me 3 1/2 hours , 2 1/2 on the tracks alone with all there nooks and crannies.

Picture
I decided straying the base coats (2) would be the best approach and was I right!
Now we wait for paint to dry. then on to the detail painting (all hand work) stay tunned.

0 Comments

    Author

    Donald A. Johnson

    Picture
    This is an on going story of my explorations into the artistic world,chronicling the process of this journey.    Highlighting my successes as well as my failures. I'll try not to focus on the failures, but they are what has taught me the most.
      I Owe the ability to take this journey to; My Mom
    (for she bred in me a drive and creativity required for this type of trip) My Incredible Wife and Children for their support, and to the world of creative people that inspire me everyday.
     One in particular is Dan Sawatzky (click here to meet Dan) This Guy has Changed the way I look at things. He is truly an artist and a Visionary with passion.

    Archives

    June 2014
    April 2014
    March 2014
    January 2014
    October 2013
    June 2013
    January 2013
    December 2012
    November 2012
    October 2012
    September 2012
    August 2012
    July 2012
    June 2012
    May 2012
    April 2012
    March 2012
    February 2012
    January 2012

    Categories

    All
    Around The House
    A To Z
    Barge
    Benji
    Brewing Up A Storm
    Chamber Plaques
    Cow Barn
    Detzer
    Dragon's Lair
    Elfs Lodge
    Elf U
    Excavator
    Glen Junction
    It Does'nt Always Go Well.
    Moat Mountain
    Sawdustnsparks Sign
    Shop Helpers
    The Vault
    Towers Steeplejacks
    Trade Show Booth
    Tree Amigos
    Up In Arms

    RSS Feed

Powered by Create your own unique website with customizable templates.