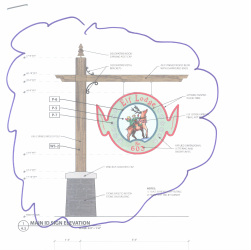
For the purpose of this blog post I will only be concentrating on the support post for this piece.
The way this is drawn the designer specifies a stained wood 6"x 6" post magically coming out of this masonry base, then a 4"x 4" horizontal piece also stained wood to pierce through the center of the vertical post.
- wood coming out of a masonry base will rot out in a very short period of time.
- if it was to be pressure treated post it would shrink, split and twist as it dried out.
- the joint were the 6"x 6" and the 4"x 4" meet is somewhat impossible to achieve and have a strong joint that won't trap water and again rot over a short period of time.
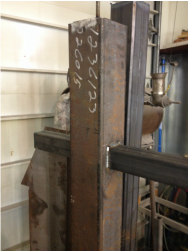
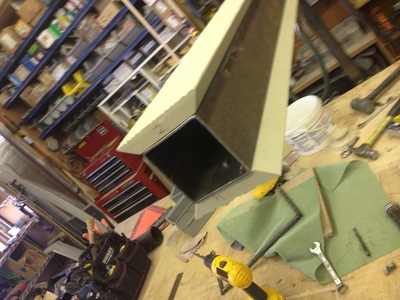
I used a 4"x 4" steel tube for the vertical, and a 2"x 2" for the horizontal pc. Plasma cut holes through the 4" pc. then slid the 2" piece through it and welded it in place.
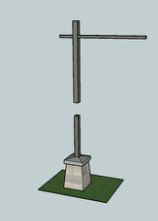
The masonry base has a piece of 3-1/2"x 3-1/2" steel tube set in the stone work. then the post that I make slides down over the 3-1/2" post.
Done! no rotting, shrinking, twisting, it's easier to fabricate as separate components, easier to install and easy to remove for winter storage or refinishing. Hopefully the latter will not be for quite a few years.
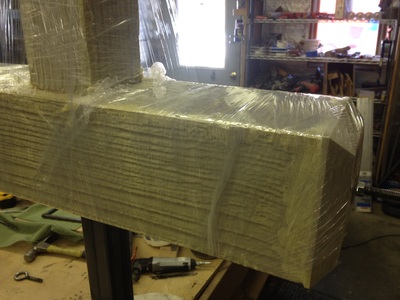
Using My Multicam CNC Router and Enroute software I was able to route the wood grain texture into the surface Of High Density Urethane foam.
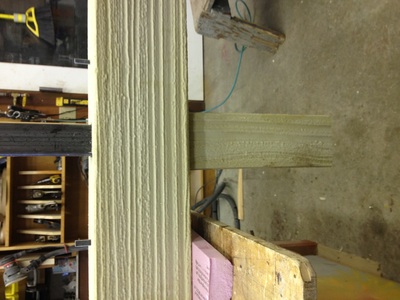
I mitered the corners and wrapped the steel with the texured foam.
see the pictures below:
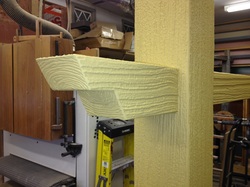
In this shot the post has been primed and the first base coat of paint has been applied.
It will get another base coat, then a glaze coat that will really make it look like stained wood and finally a couple of clear coats for protection.

 RSS Feed
