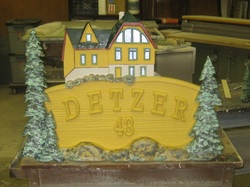
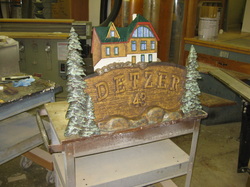
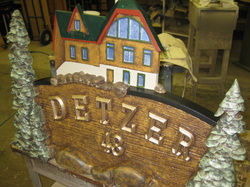
Then I hand paint the Text.
And last but not least a clear coat for protection.
Done !!!
|
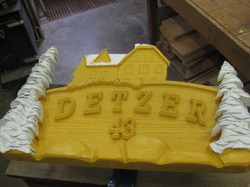
Once all the sculpting is completed It's Paint, Paint & more Paint.  First coat is a thick Primer (the white) Then we start with the base coats not being too careful cutting in as the subsequent colors will be cut in to the first coat. You try to work your way out from the middle.  Some other colors added and details begining to come out.  Adding some glazes gives the textures and colors some depth and patina.  One final go round with the detail colors to touch up. Then I hand paint the Text. And last but not least a clear coat for protection. Done !!!
0 Comments
Once the router has done the bulk of the work along with some of the detail carving and such. The next steps involve human interaction. 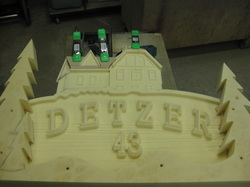 I first build out some areas that I want do add some dimension too. This could be done with the software and incorporated into the router work (but thats why we practice, so we get to see how these things come out) maybe next time. In this shot I have also glued the two layers together using Gorilla Glue. The srews are used as clamps. Behind the trees Are the carrige bolts that hold the steel bracket to the sign. 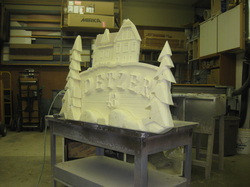 Once the glue has dried, I shape the tree bows using a right angle die grinder with a small sanding disc, This allows me to get the edge of the disc into the tight crevases. at this point it looks pretty good ,Really getting some depth and detail. 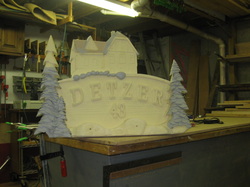 Then comes the tedious sculpting work using Abracadabra two part sculpting epoxy. You mix this stuff in equal parts shape it, let it dry overnight and presto its rock hard. Here I've layered the bows on one by one starting at the bottom and working my way to the top. A good work out for the thumbs. I've also sculpted some shape into the boulders in front of the house. Till the next installment coming soonI've been working on a little project to test my techniques. It's a sample piece that encorporates alot of the tools in my arsenal, Design, building reliefs(using Enroute software),Routing, Carving, painting and Glazing. This is what I started with. 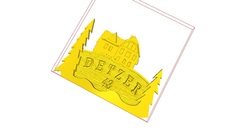 Traced around the parts of the picture I wanted using Enroute, and created two different reliefs, one for the back ground or the main body of the sign and the second was the trees and the landscape between them. This picture shows both reliefs as they will be applied to each other. 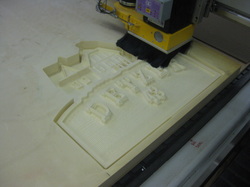 Then off to the Multicam for some router magic. I'll post more in the next few days. Keep Checking back.
|
AuthorDonald A. Johnson 
This is an on going story of my explorations into the artistic world,chronicling the process of this journey. Highlighting my successes as well as my failures. I'll try not to focus on the failures, but they are what has taught me the most.
I Owe the ability to take this journey to; My Mom (for she bred in me a drive and creativity required for this type of trip) My Incredible Wife and Children for their support, and to the world of creative people that inspire me everyday. One in particular is Dan Sawatzky (click here to meet Dan) This Guy has Changed the way I look at things. He is truly an artist and a Visionary with passion. Archives
June 2014
Categories
All
|